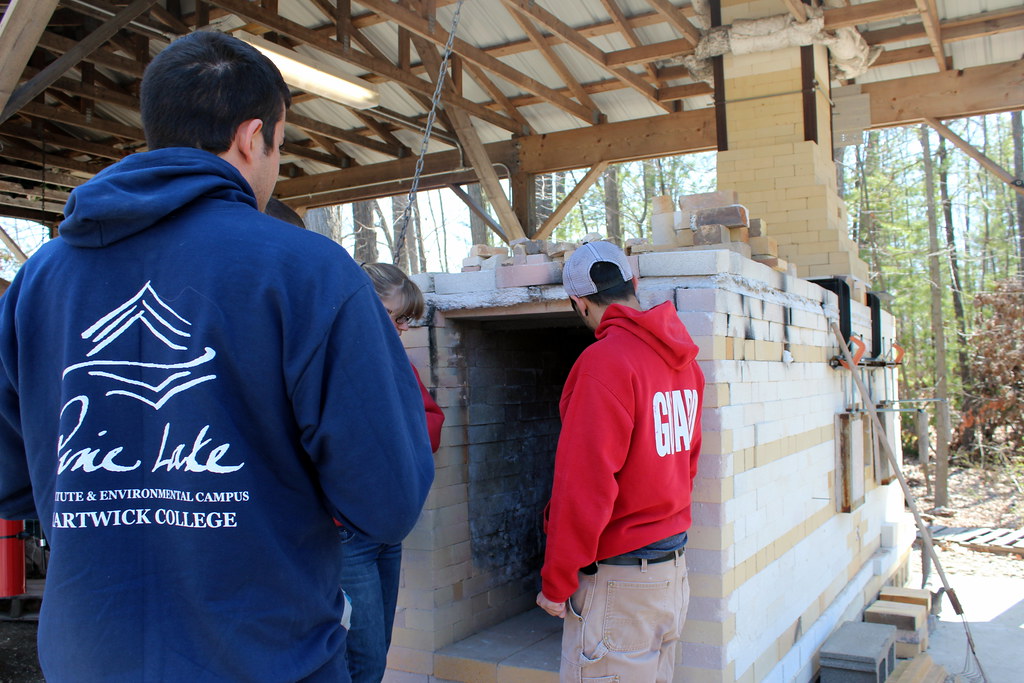
The incredibly active ceramics department and I went over from Hartwick College to Corning Community College where they have two amazing wood fired kilns. They have both a traditional anagama and what we refer to as a train kiln, which is a long box shape with a smoke stack coming out the top at one end making it look like a steam engine. The interesting thing about the train kiln is that as far as I know, it's one of two wood fired kilns in the world specially designed for blowing glass out of the side at peak temperature. The other, which is identical, is in France. Fred, the teacher at CCC with the help of the engineers of Corning Glass developed the design which is relatively simple but works very well. Fred's thing is wood firing, and building kilns, he also built the other glass/ceramic kiln in France.
Me, by the anagama.
Me, by the anagama.
This time we used the train kiln. It can hold roughly 200 plus pots while the anagama, which is relatively small compared to the traditional ones which are often over a hundred feet long, can hold around 500 pots. Additionally the train kiln takes a day to load, two days to fire, two to three days to cool, and an afternoon to unload, while the anagama takes two days to load, five to seven days to fire, another week to cool, and then a day or two to unload. We only had a weekend to fire, additionally we wanted to blow glass out of the kiln.
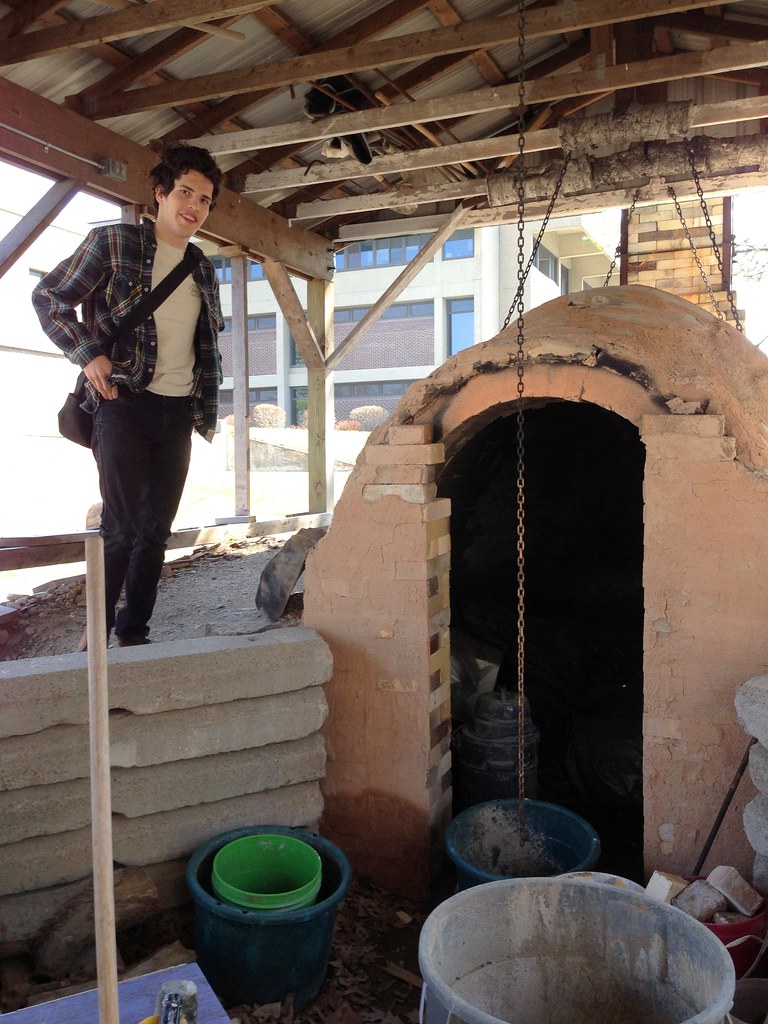
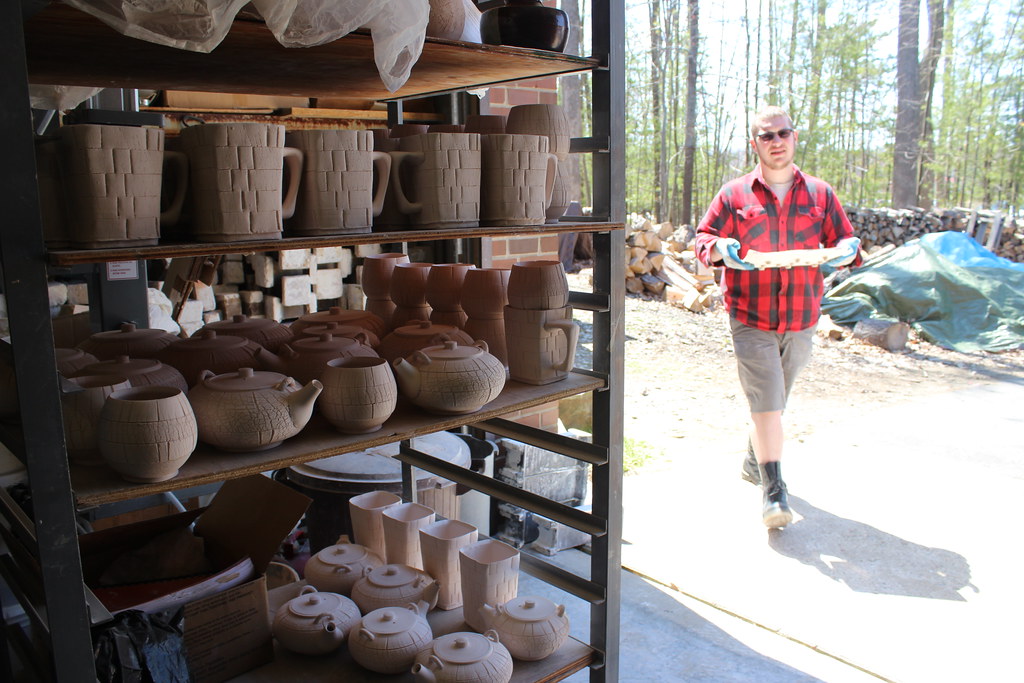
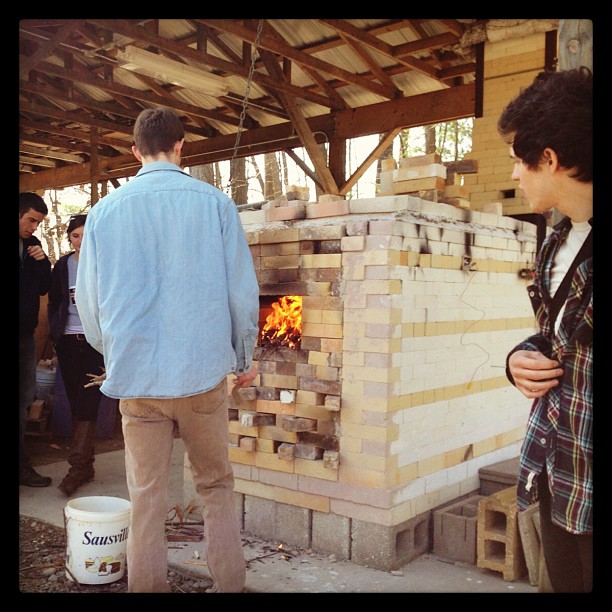
Below is the train kiln. Fred is in the kiln, which is roughly three feet wide and four feet tall. It's moderately uncomfortable to load, so if you build a kiln either make it taller, or have a removable roof. We're all standing around handing pots to Fred. We don't load because Fred has years of practice laying the pots in certain ways so the wood ash, flames, and glaze draws interesting patters on the pots.
We organized the pots by size, height, and how much they were glazed (because some parts of the kiln are hotter causing the glaze to run more,) then brought them over a few at a time for Fred to load.
This is what loading the inside looks like as we neared the end of loading.
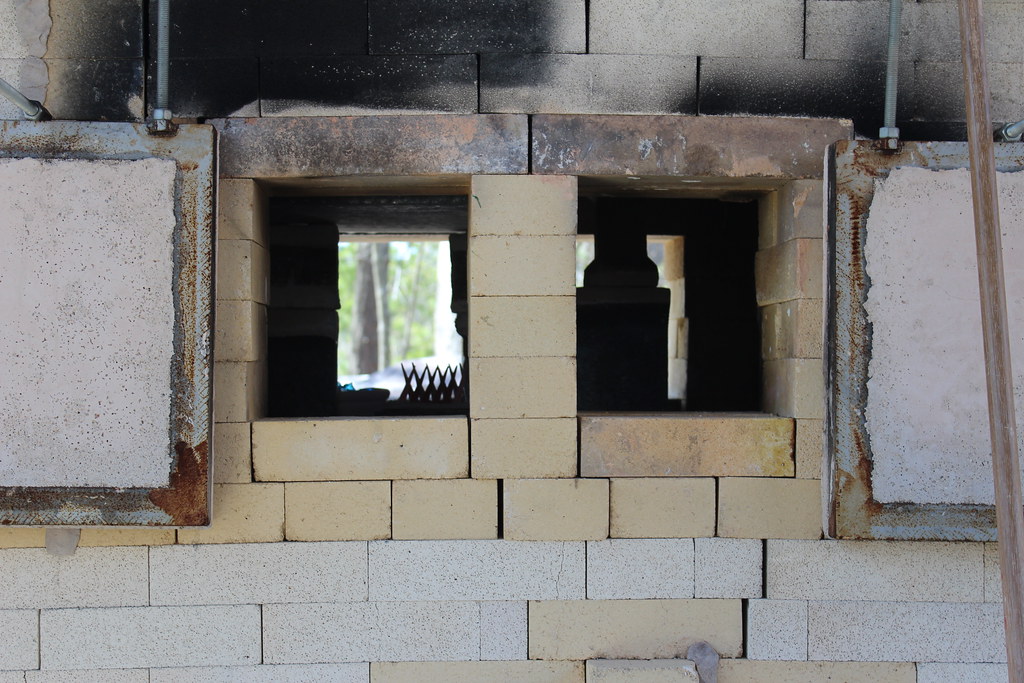
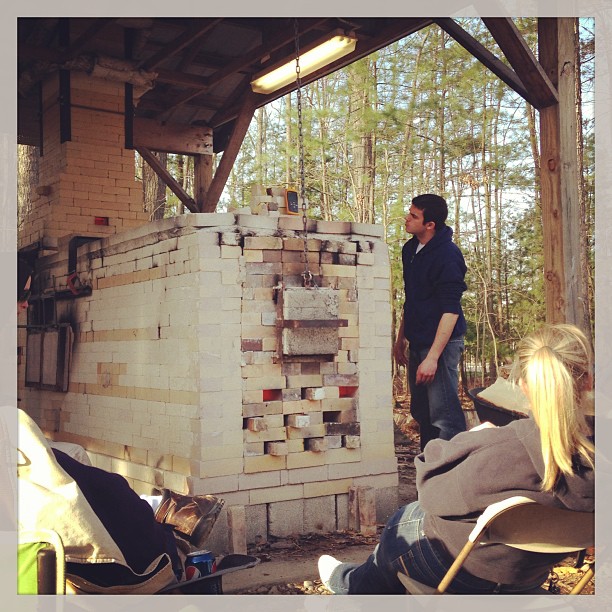
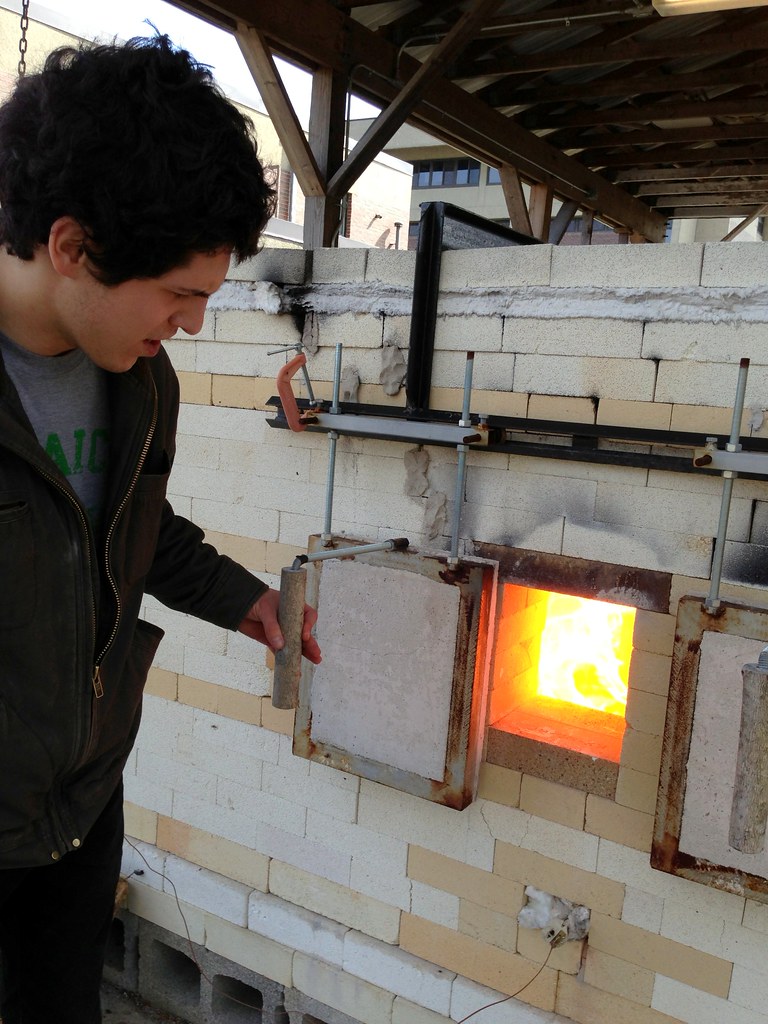
About two thirds of the way down the kiln on each side there are two ports with two doors that slide open and closed. This is where we glass blow and one of the things that makes this kiln so unique. On one side of the port is a crucible full of glass and on the other is what we refer to as the "glory hole" (great name right?) which is where you stick your work in when you need to heat it back up to make the glass malleable again.
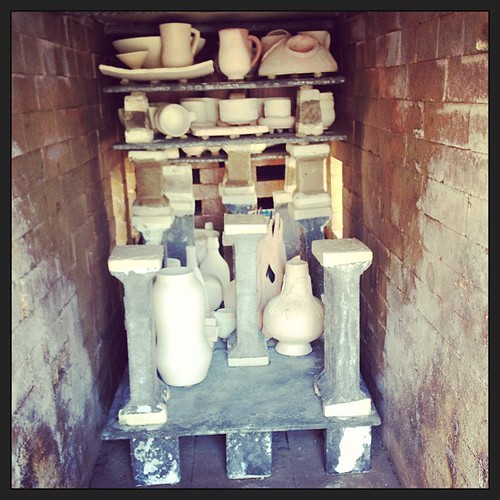
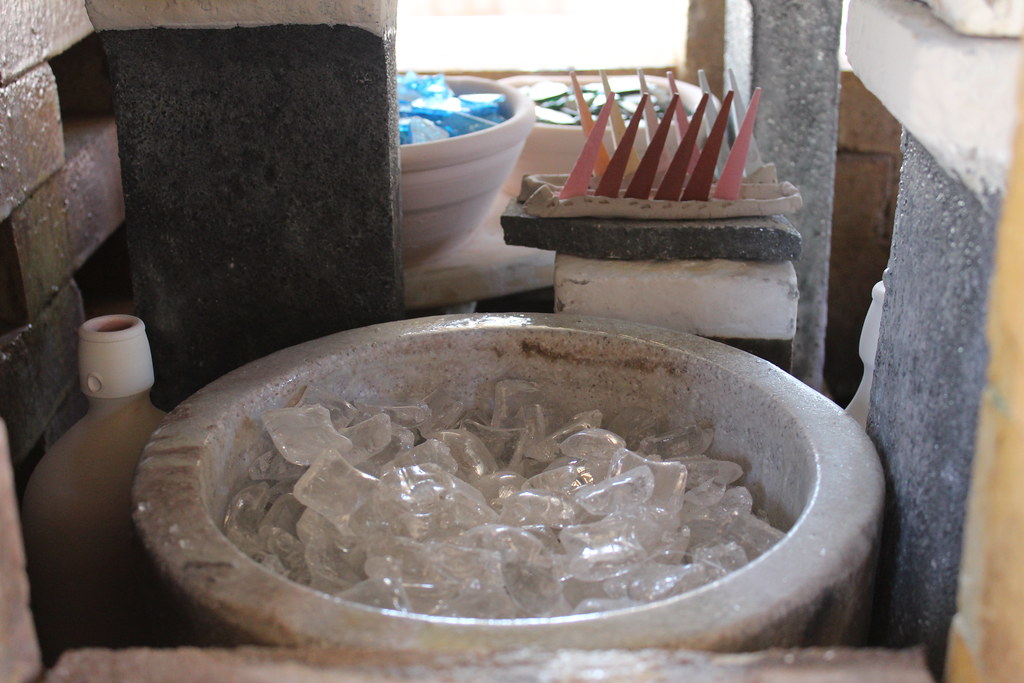
Inside we had three crucibles of glass. The largest held roughly 40lbs. of clear glass. On the other side we had blue and green colored glass to mix with the glass pieces we were made. In the middle you can see our cone system to measure work heat versus the pyrometer which just measures air temperature inside the kiln. Each cone melts at a specific point
We bricked up the entrance of the kiln and then went to main street Corning to find something for dinner.
The next morning at 10am we lit a small fire in the entrance and began to slowly heat the kiln up. Within the first few hours steam and water seeped out between the bricks as the last of the water left the work. We created shifts to watch the kiln and CCC had the afternoon, which allowed us to leave and go over to corning and blow some glass.
In the evening when we returned we began the process of feeding the hungry kiln ever ten minutes or so to achieve a steady temperature climb.
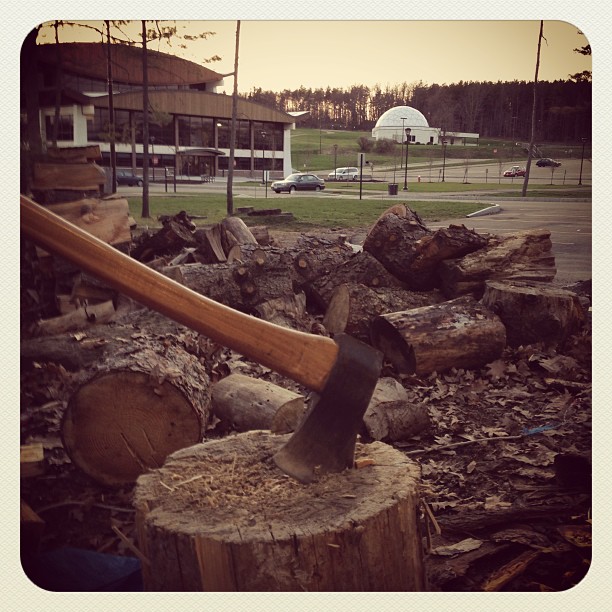
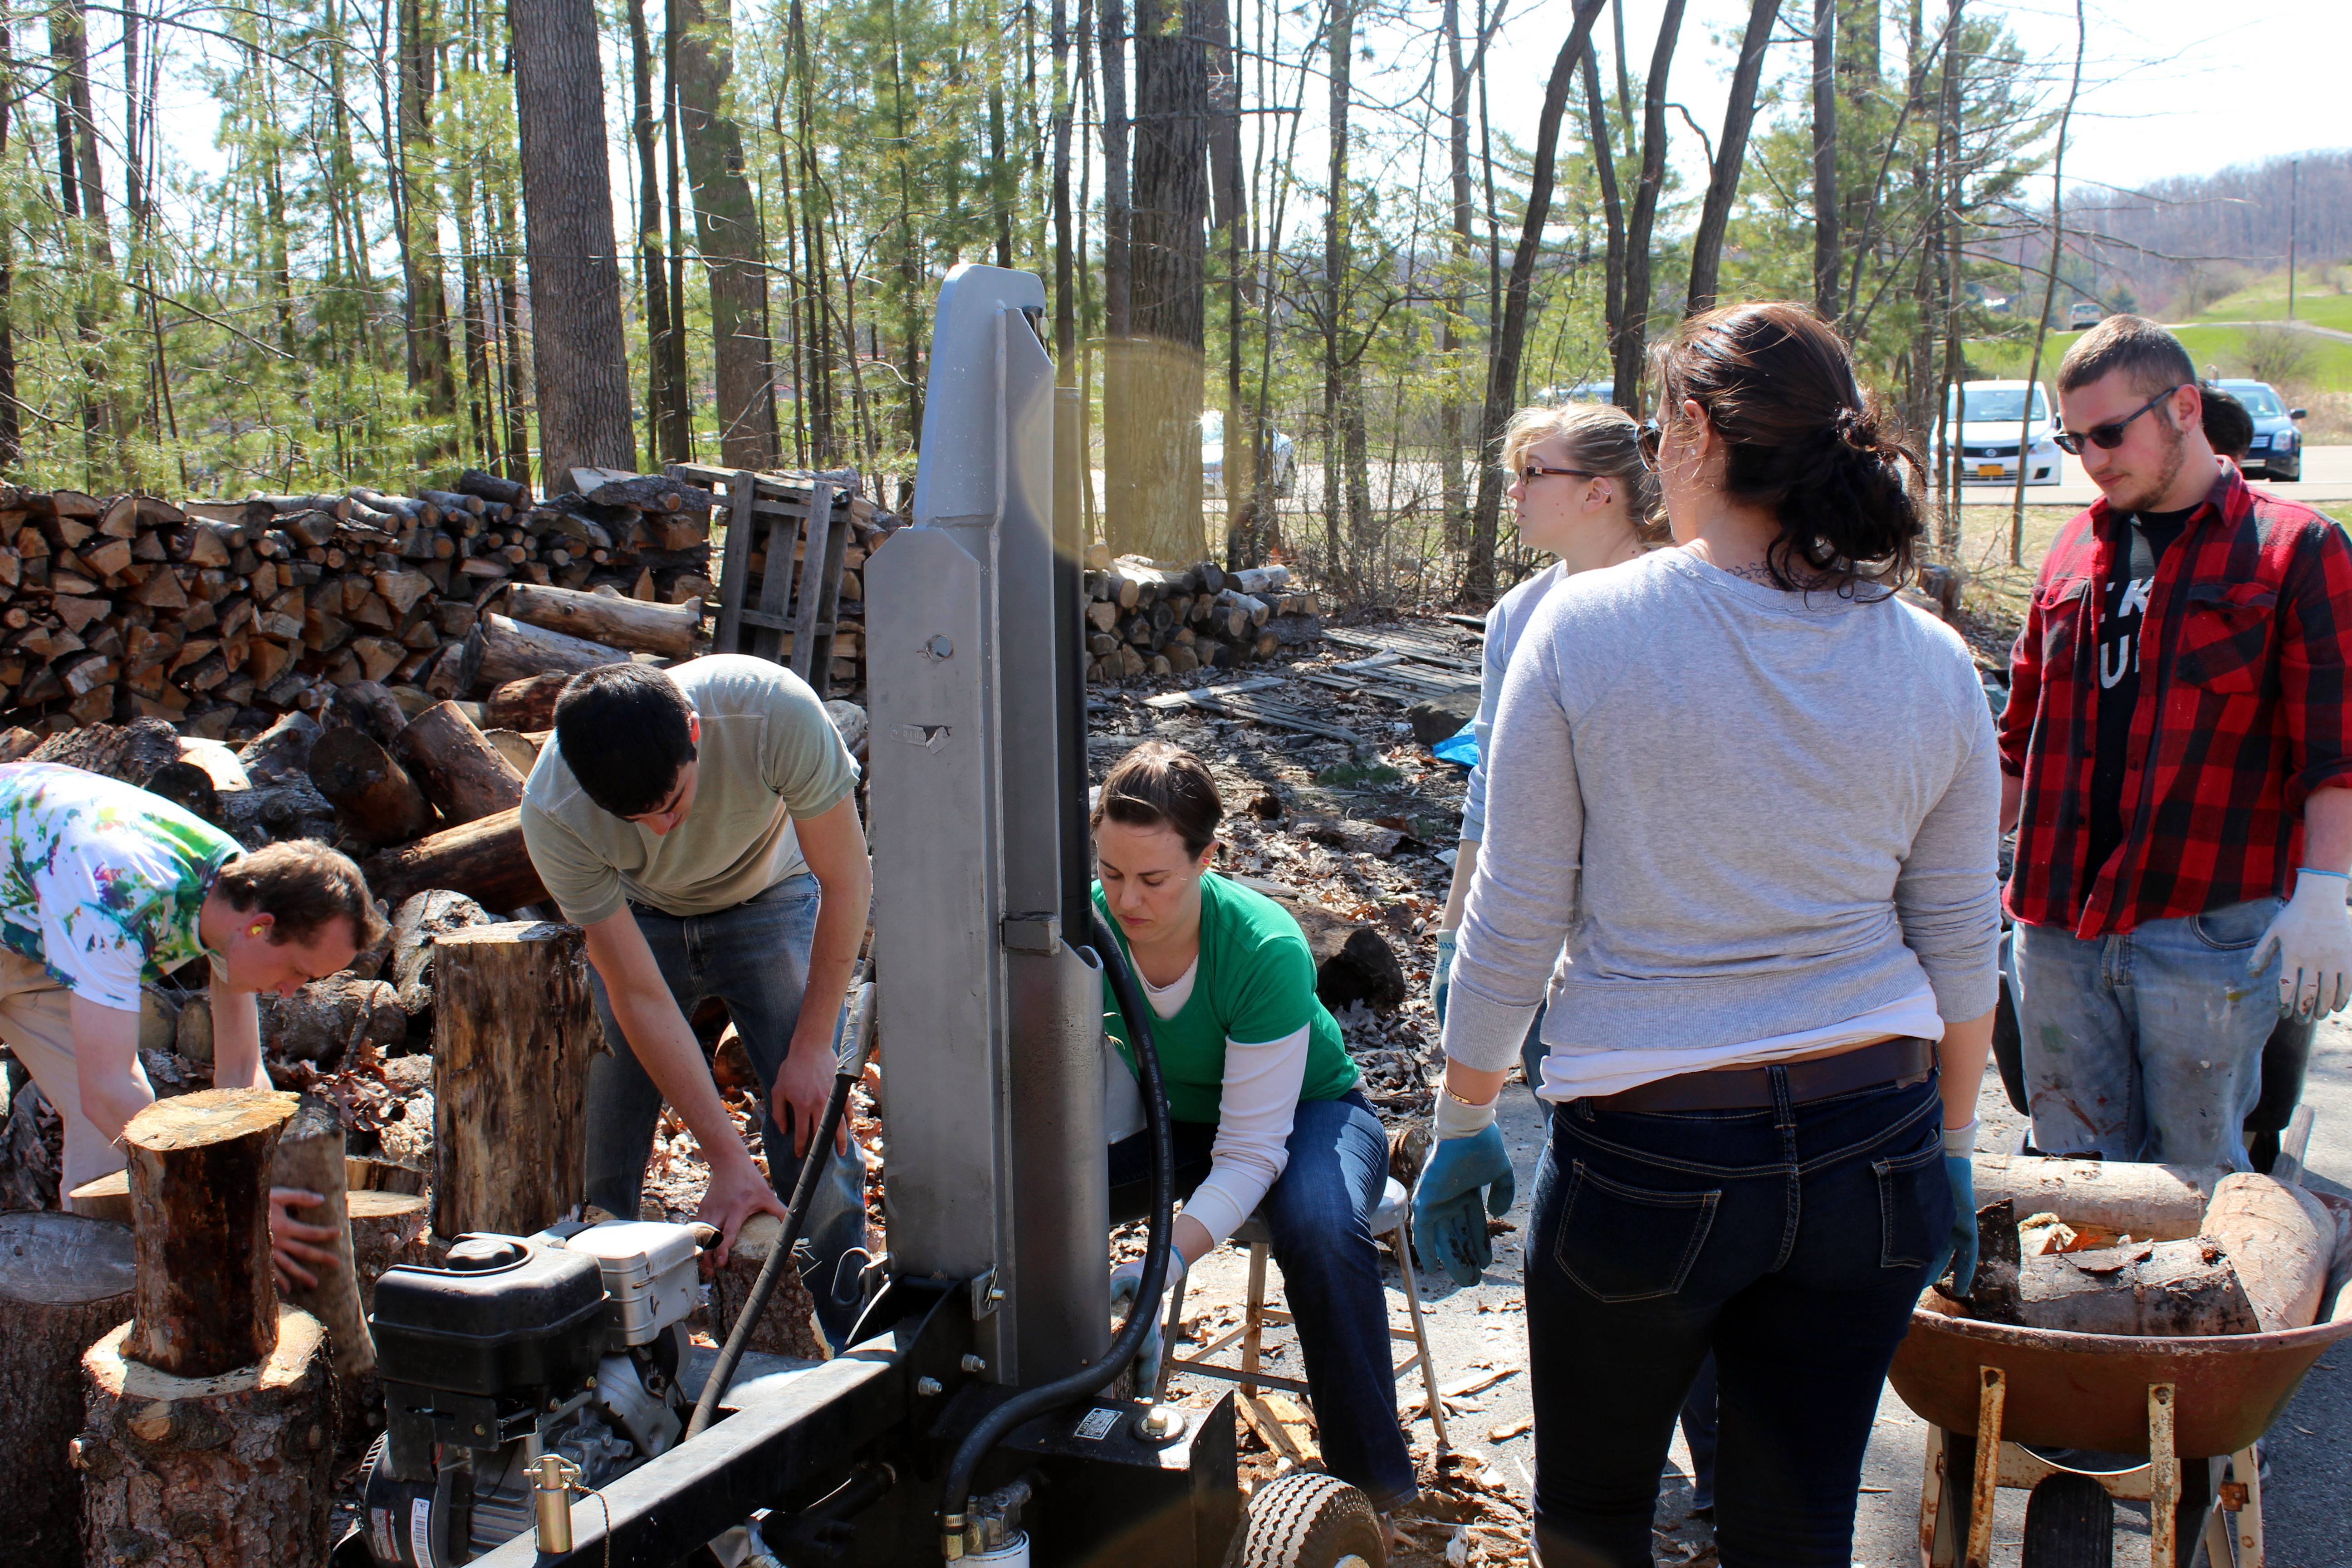
We also split two to three cords of wood with a hydraulic wedge. I think we burned around four cords.
Elliot, Erica, Berky, and I had a shift from 6pm to 10pm. Most of the time we spent eating an excessive amount of food and throwing wood in. Steadily it grew hotter and hotter. First the pots glowed a dark red, then a bright cherry red, and then yellow.
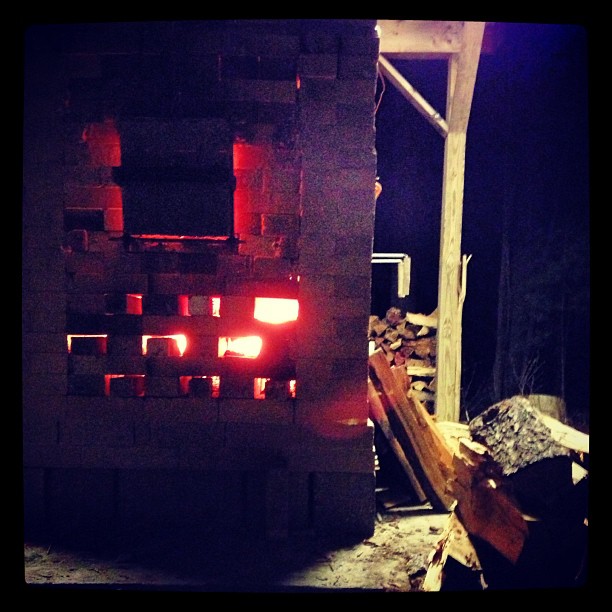
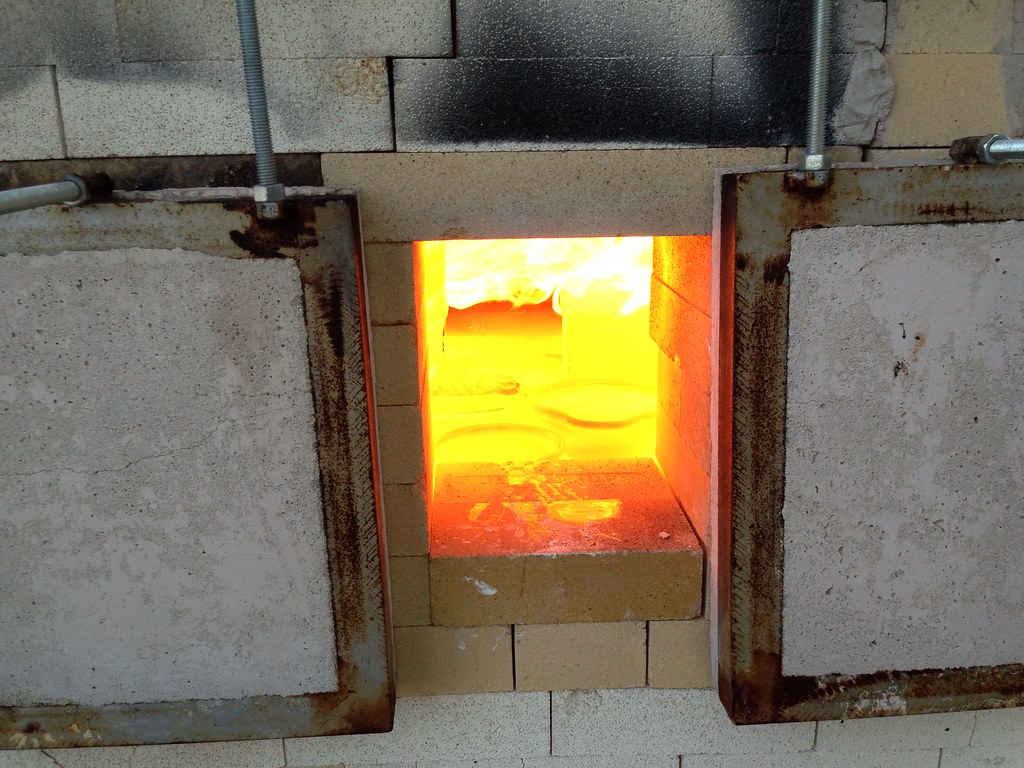
You may recognize the photo from earlier. This was in the evening and we were riding around 2,000F with another 400 to go. As you can see some of the cones in the back have tipped over and the glass has turned to liquid. Interestingly, the higher you climb in temperature the more energy you need to keep climbing. So during the first twelve hours we climbed around 1800-2000F while in the second twelve hours we only climbed 400-500F.
I returned at 6:30 the next morning grateful that I did not have to do the midnight to 6am shift. Opening the kiln without gloves is uncomfortable, in the image below I burnt the hair off my hands. There is also flames coming out of the 20ft chimney and it's unbearable to stand close to the kiln for more than a few minutes. Good thing it's outside.
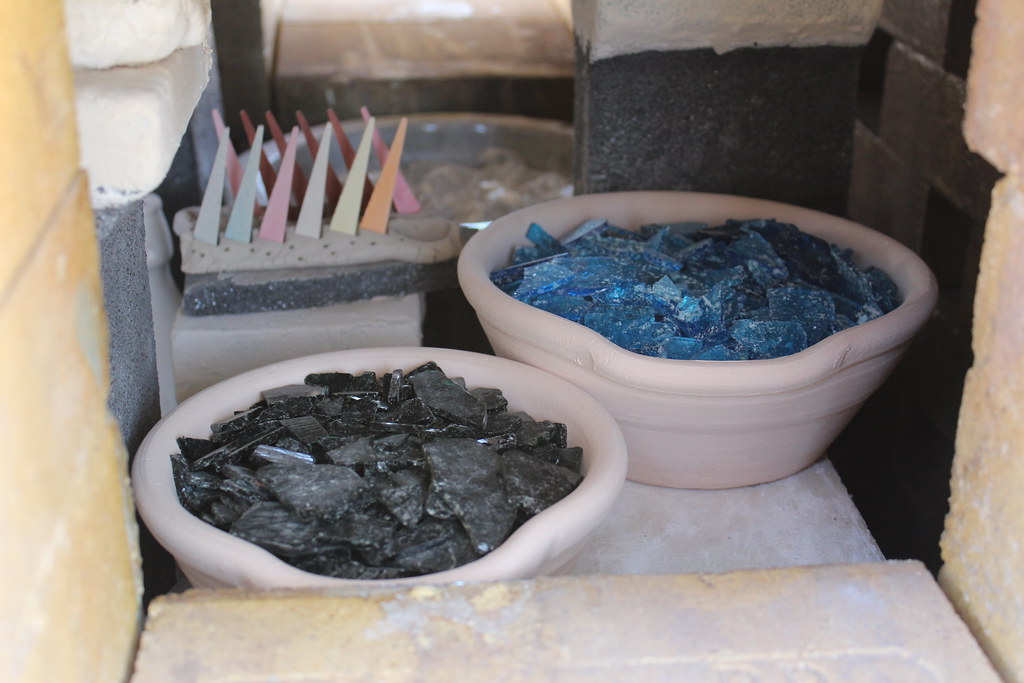
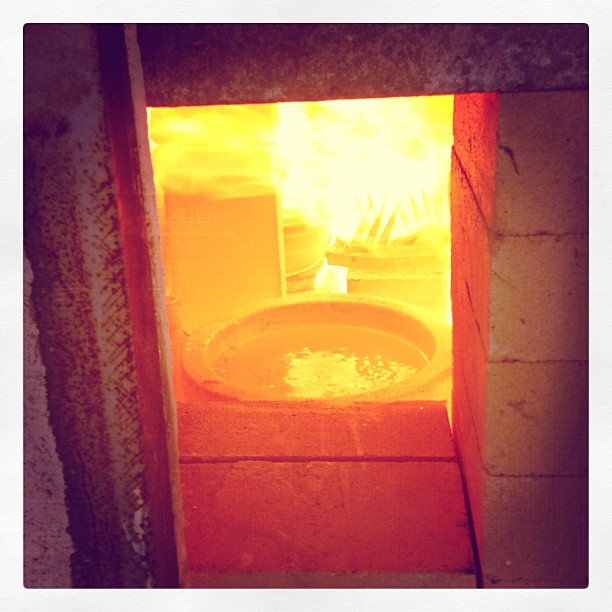
You can make out the rims of the colored glass crucibles.
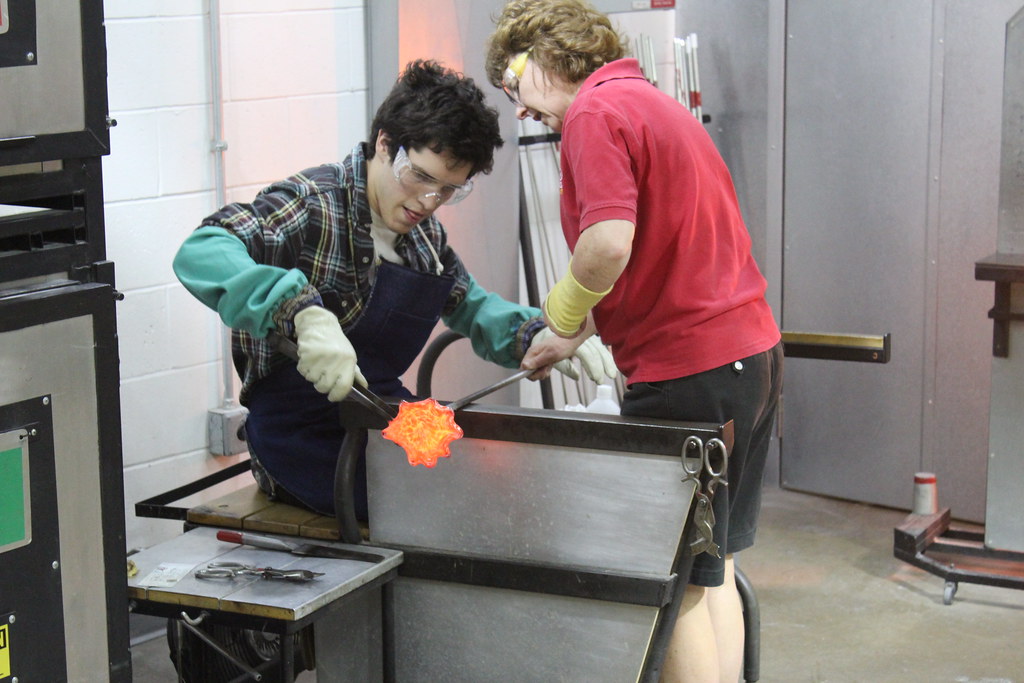
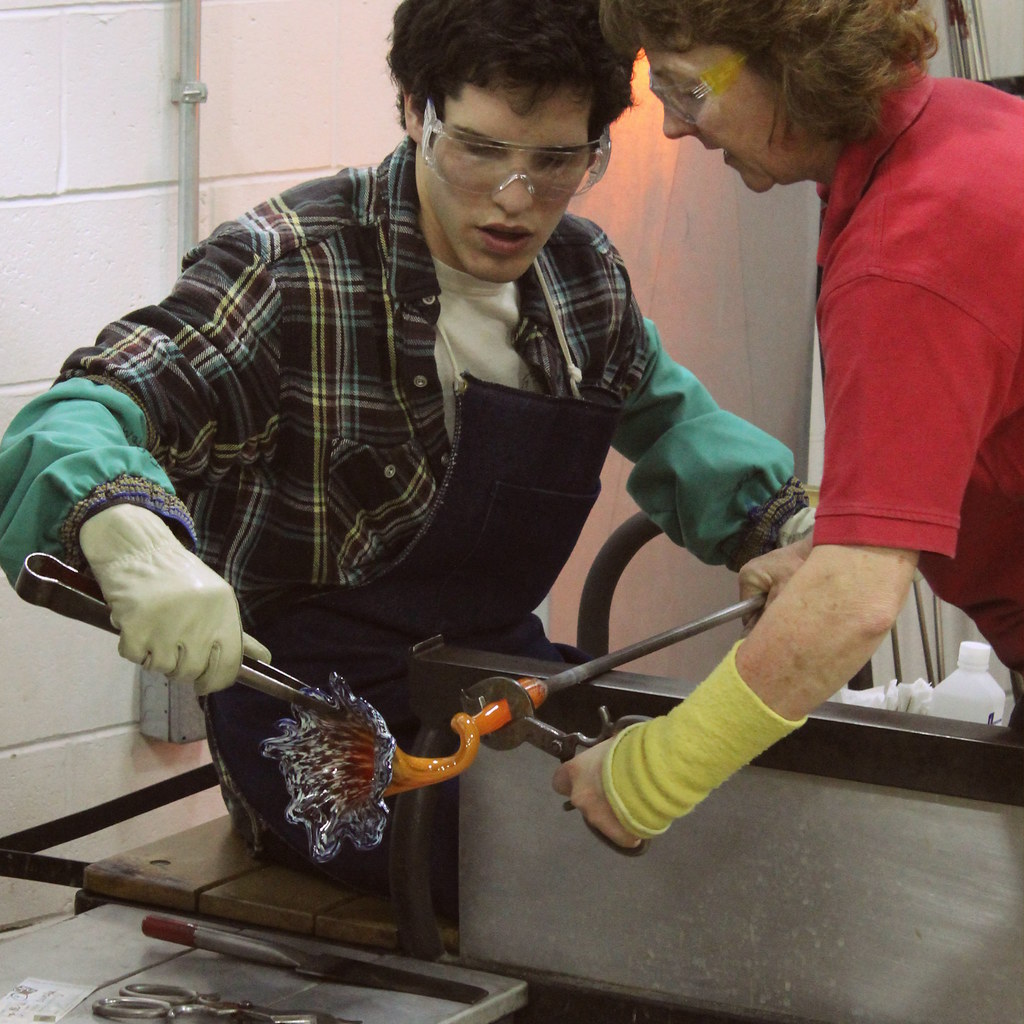
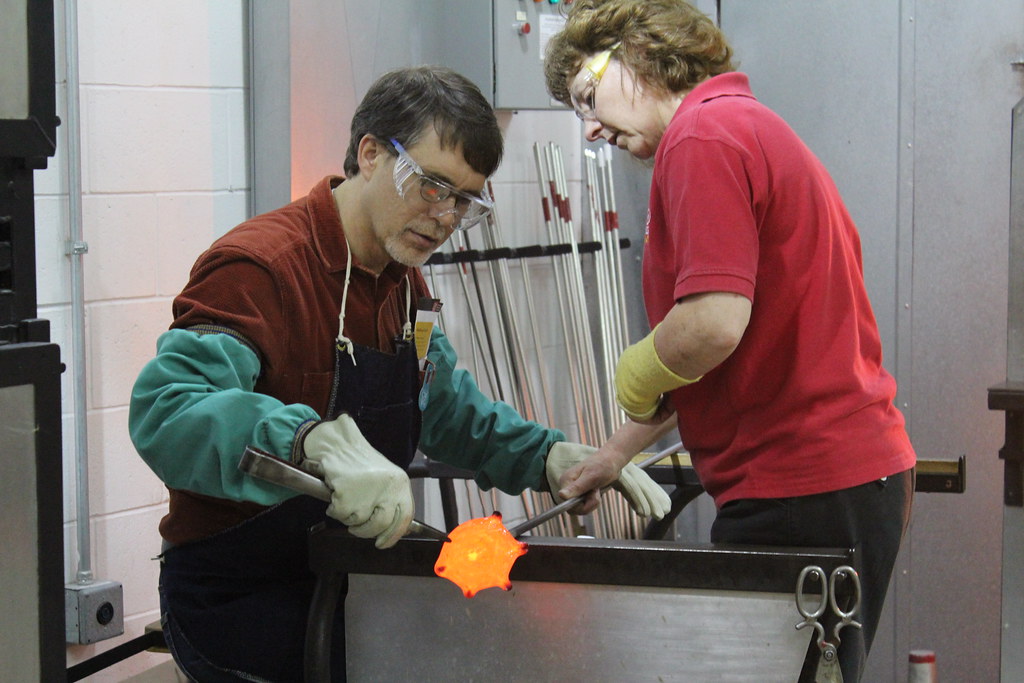
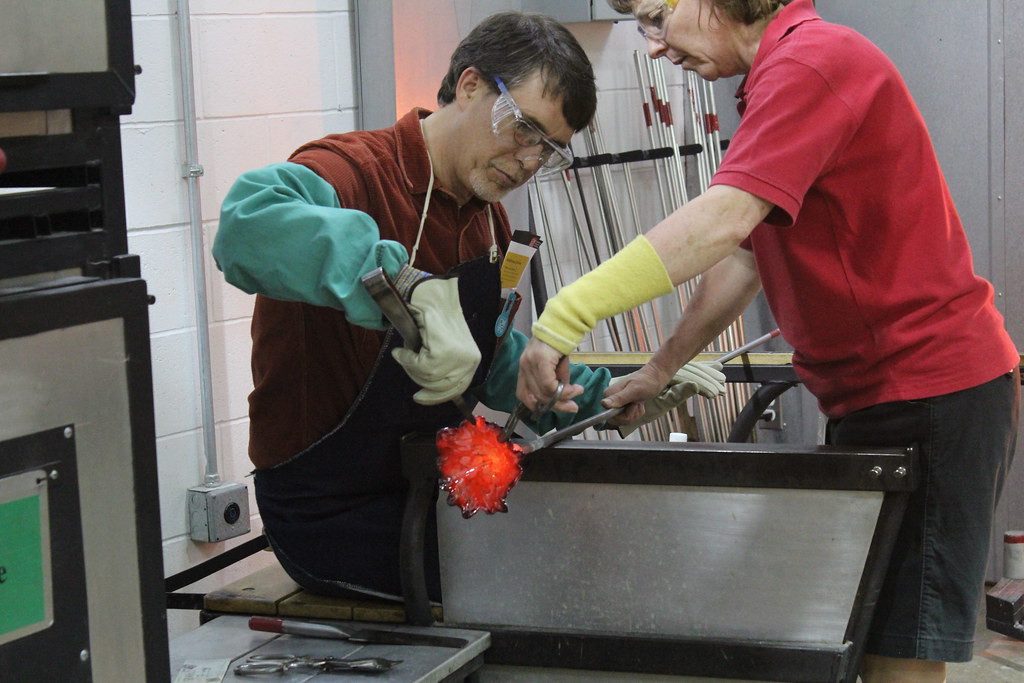
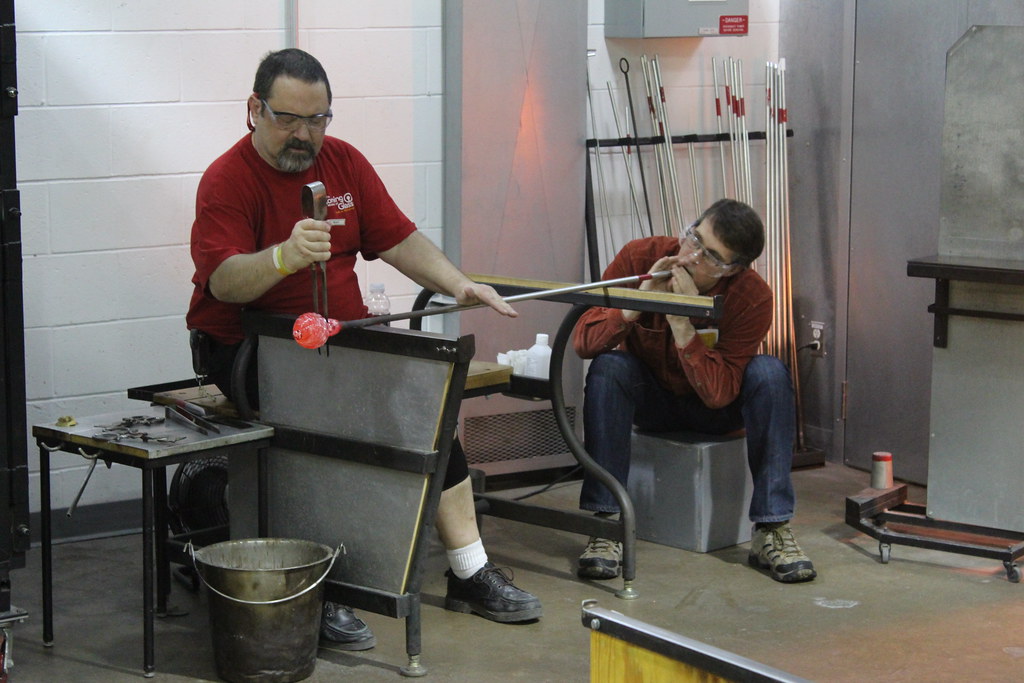
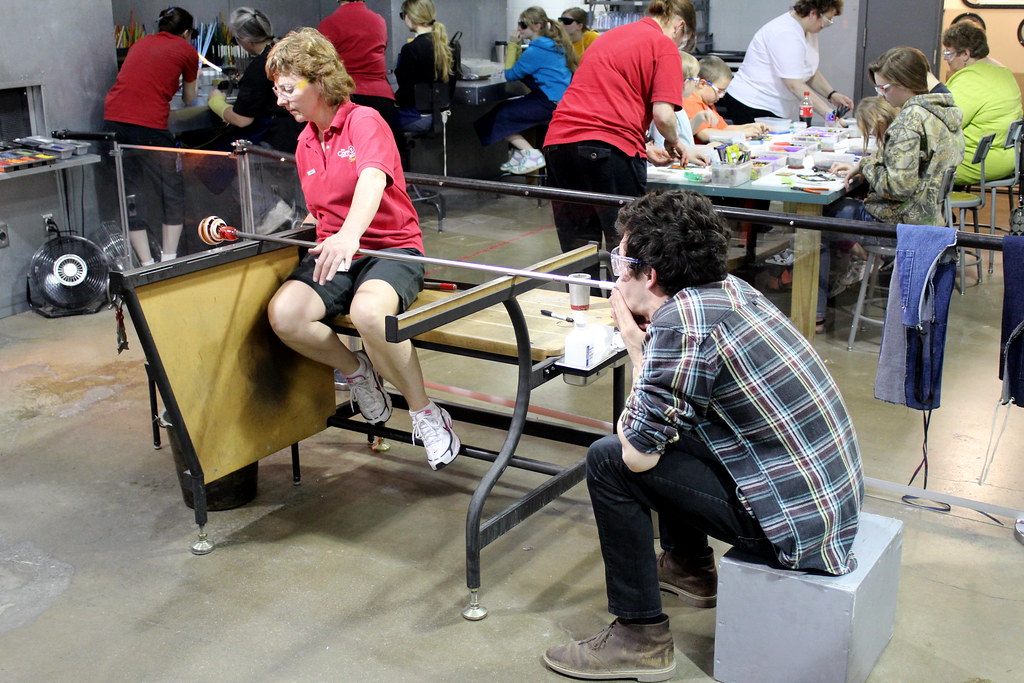
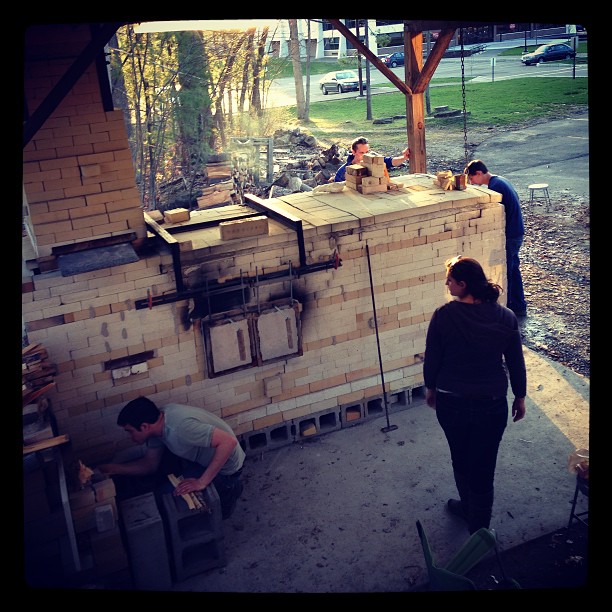
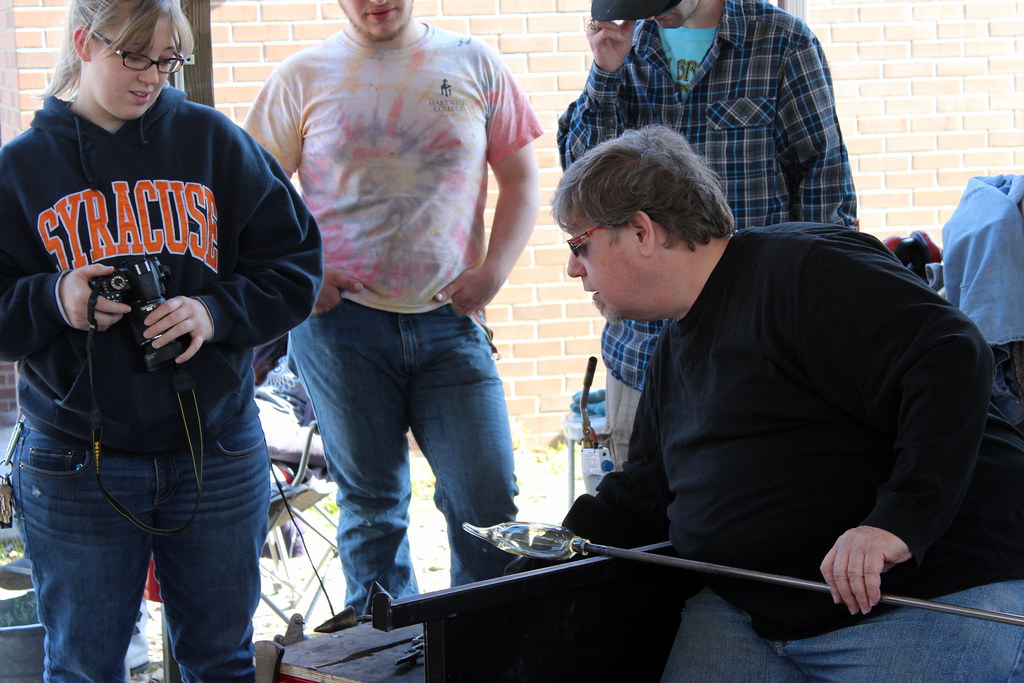
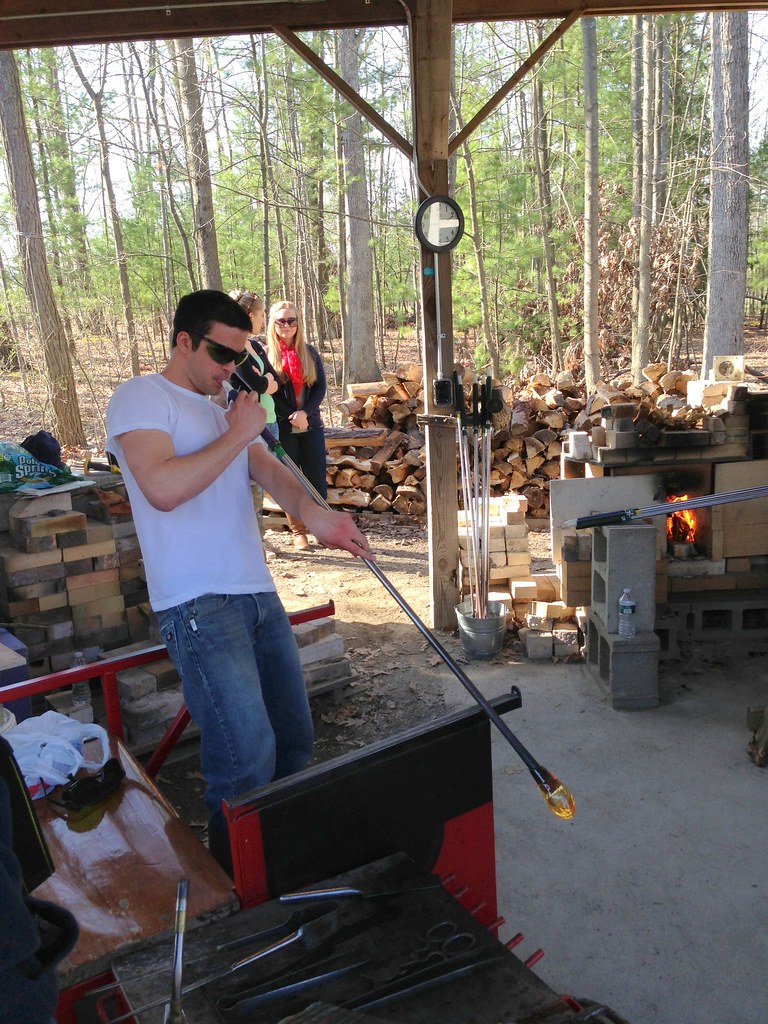
Then the glass students from Hartwick showed up, set up shop, and blew glass for two hours. Below is Erik Halvorson our glass instructor trying out the glass. The glass is a bit softer than usual since it normally comes out of the furnace at 2100F or so and this glass is around 2400F.
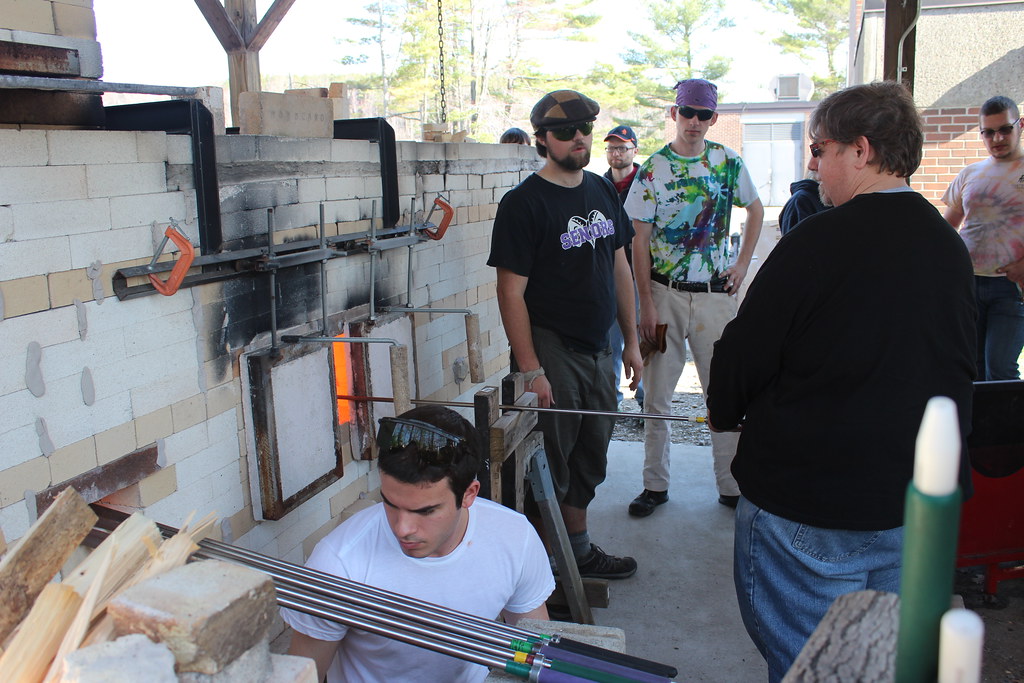
We were also a bit cramped for space but things managed to work out fine. Elliot in the white t-shirt is stoking the annealer which runs on a separate wood fire to keep a box around 900F so our glass doesn't break.
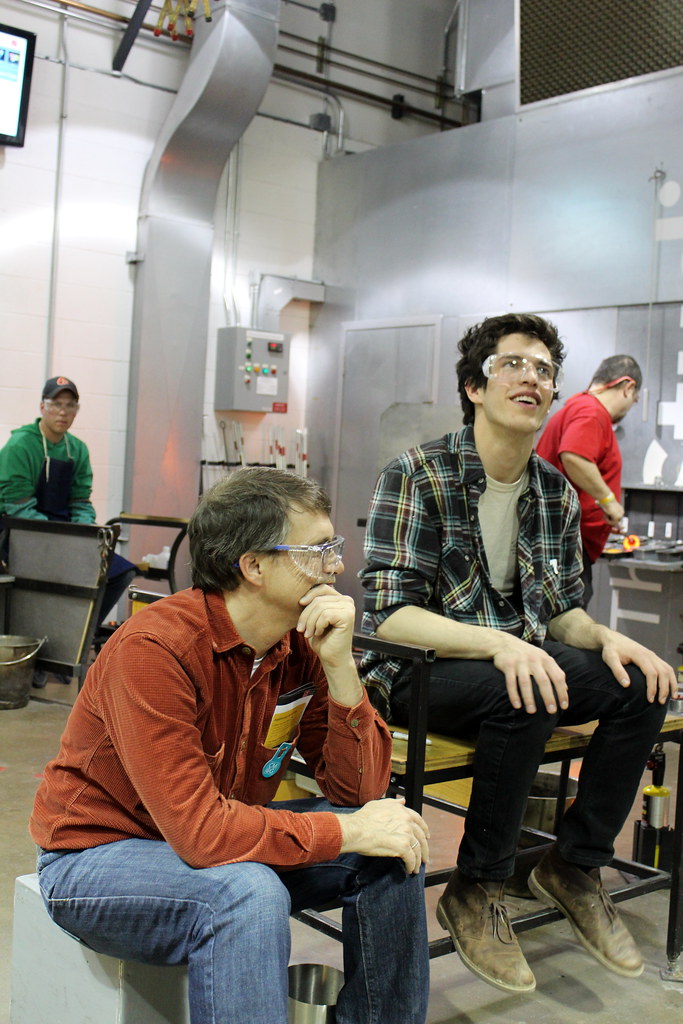
Elliot blowing glass.
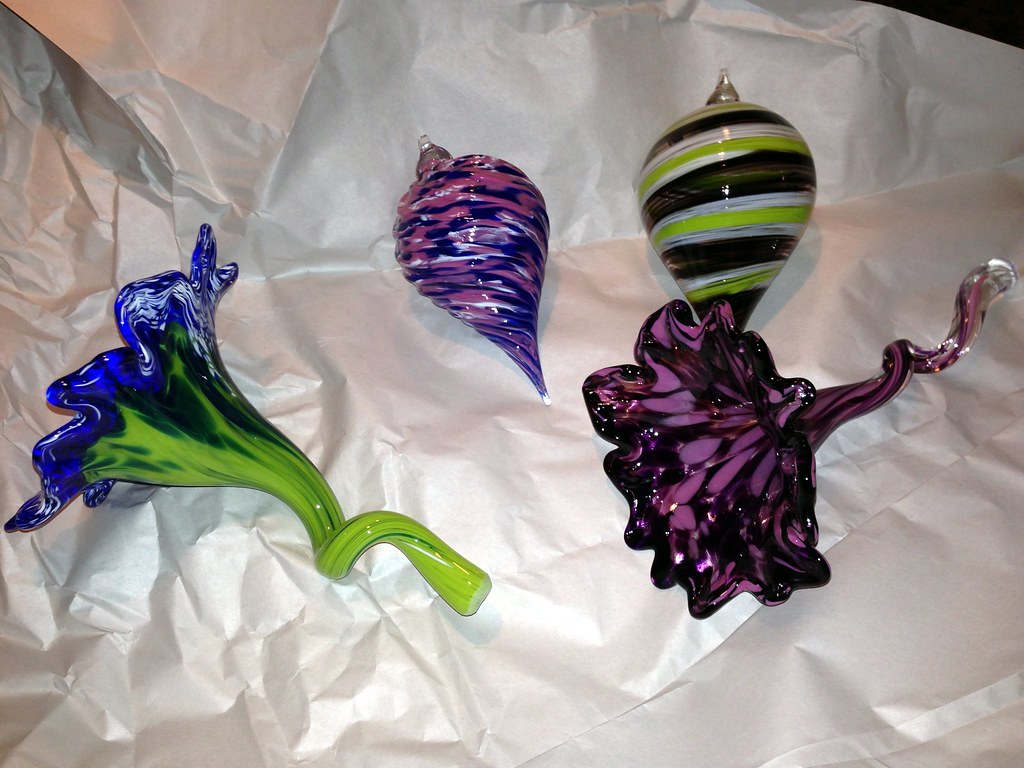
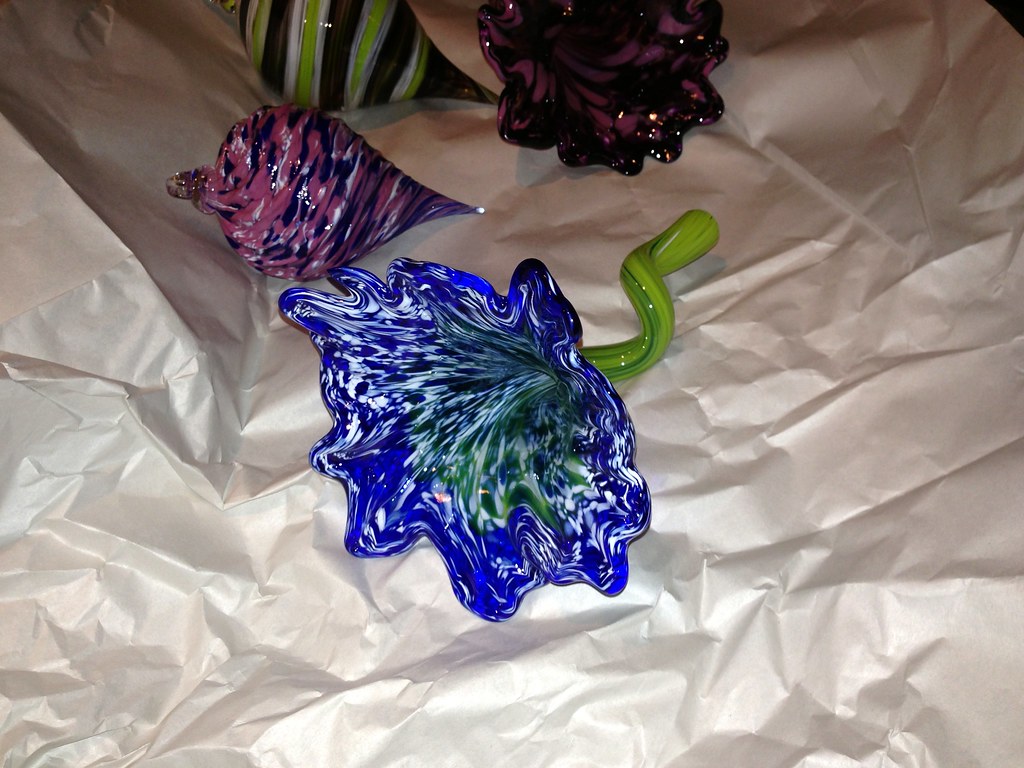
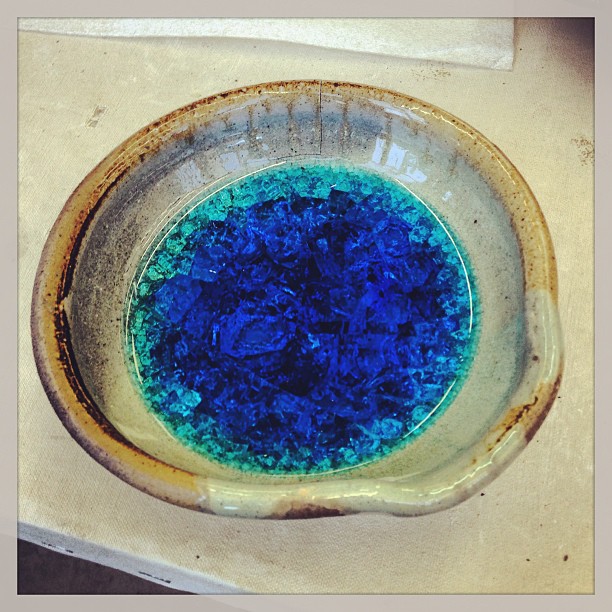
So what did all this fire make? Below is the blue glass crucible. It's actually a waste product of the firing since sadly, it's not reusable or safe to eat food out of it, but it is beautiful. We cannot remove all the glass from all the vessels, but we do our best to use as much of it as possible.
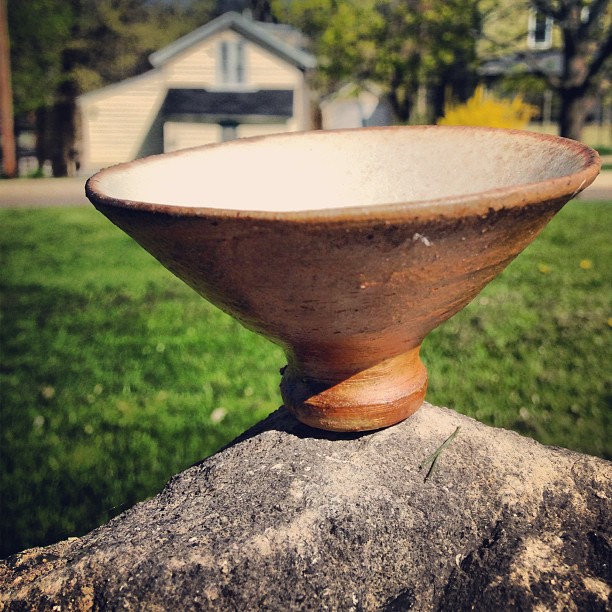
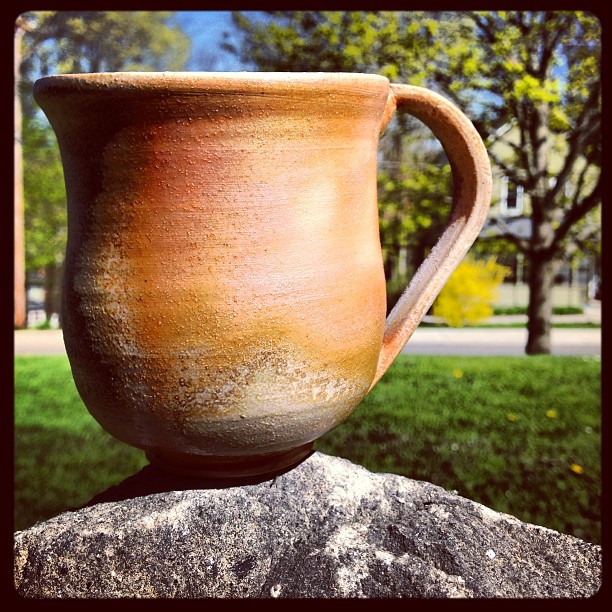
Here's one of my mugs. Where it is redish is called flashing, or where it got blasted by flame. Where it is crusty, singed, dark, or glossy is where wood ash collected and melted in (mostly the other side of the cup.) I put glaze on the insides of all my cups to have a glossy texture inside (which also makes it food safe and easy to clean.)
Teabowl